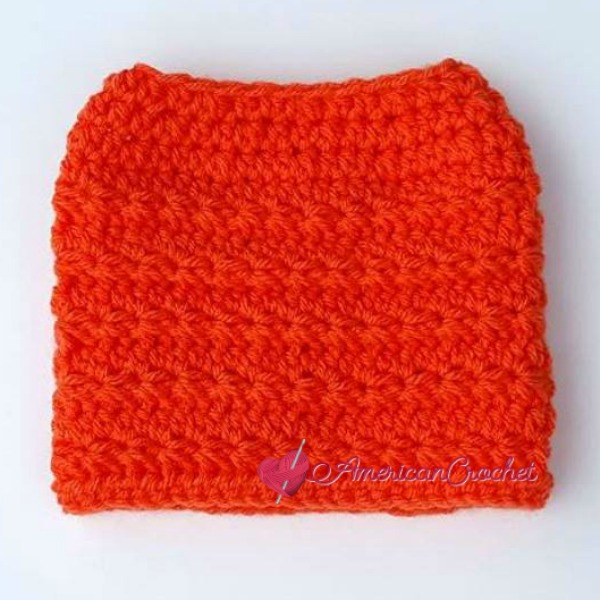
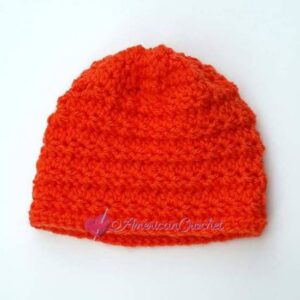
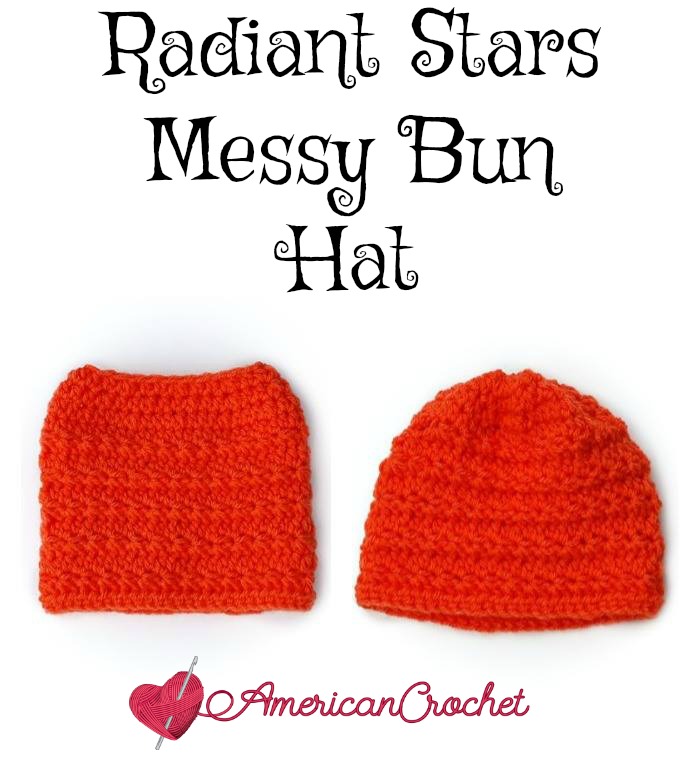
This bold messy bun hat, or head wrap pattern is accented by the star stitch. It’s warm and stylish and the free crochet pattern comes in 4 sizes from child’s small to adult. The crochet pattern also has instructions for turning it into a beanie. Scroll down for the free instructions.
>>> SIGN UP FOR THE AMERICAN CROCHET NEWSLETTER! <<<
Queue & Favorite on Ravelry OR Purchase it on ETSY!

I made this Radiant Stars Messy Bun Hat for my niece. She loves wearing her hair up. It keeps the ears and head warm while wearing your hair in your favorite messy style.
See more Free Crochet Patterns HERE
If you like messy bun hats here are some others I have designed:
- Dashing Messy Bun Hat Pattern
- Everyday Kisses Messy Bun Hat for Beginners
- Simply Reversible Messy Bun Hat Pattern
- Skipping Puffin Messy Bun Hat Pattern
REQUIREMENTS
Terminology
- US Terms
Level of Difficulty
- Beginner/Intermediate
Yarn
- Lion Brand Vanna’s Choice # 4 Medium, Radiant Orange
Hook and Notions
- Size Hook: I (5.5mm)
Measurement
- Hat should fit circumferences of (Child’s Small 15-16 inches, Medium 17-18 inches, Large 19-20 inches & Adult 20 inches to 22 inches)
Gauge
- 7 stitches over 2 inches = 5 rows
Abbreviations
- Ch = chain
- Sc = single crochet
- Hdc = half double crochet
Special Stitches
- FHDC – (Foundation Half Double Crochet) Chain 2, yarn over, insert hook into first chain (2nd from the hook), yarn over, pull up through the first loop on the hook (this is your first chain loop). With 3 loops on hook, yarn over, pull through 3. * Yarn over, insert your hook into the first chain loop, yarn over, pull up a loop (this is your second chain loop), yarn over, pull through 3. 2 fhdc completed. Repeat from * until you reach the desired number of fhdc.
- Beginning Star Stitch – Chain 3, insert hook in second chain from hook and pull up a loop, insert hook in next chain and pull up a loop, insert hook in first single crochet and pull up a loop, (insert hook in next single crochet and pull up a loop) twice, yarn over and draw through all 6 loops on hook, chain 1 to close Star and form eyelet (beginning Star made).
- Star Stitch – Insert hook into eyelet from last Star made, pull up a loop, insert hook through the last 2 loops on the left side of the Star and pull up a loop, insert hook in same stitch as the last Star and pull up a loop, (insert hook into next single crochet and pull up a loop) twice, yarn over and draw through all 6 loops on hook, chain 1 to close Star and form eyelet.
Pattern Notes
- Worked from the bottom up in rounds. Do not turn your work.
- This messy bun is worked using the child’s small instructions. I have given you the foundation half double crochet for the other sizes
Video Tutorials if available will be on my YouTube Channel – Subscribe to my YouTube Channel!

HAT INSTRUCTIONS
Child’s Small 15-16-inch head circumference (7 ½ inches wide by 6 inches high)
Round 1: FHDC 53, join with a slip stitch to first chain. (53 [58, 63, 68] sts)
Round 2: Work Beginning Star, chain 1, * work Star Stitch, chain 1, * repeat from * to * around, ending with a sc in last stitch; join with a slip stitch to top of first spoke of the Star. (26 stars)
Round 3: Chain 1, hdc in the same stitch as join, work 2 hdc in the eyelet of the Star, hdc in the next stitch, * hdc in the next eyelet, hdc in the next stitch, * repeat from * to * around, sc in the last stitch; join with a slip stitch in top of first hdc. (53 hdc)
Rounds 4-11: Repeat Rounds 2 & 3, 4 more times; ending with a round 3
Round 12: Chain 1, hdc in same stitch as join, hdc in the next 2 stitches, * hdc decrease over the next two stitches, hdc in the next 3 stitches, * repeat from * to * around, ending with hdc in last three stitches; join with a slip stitch to top of hdc. (43 sts)
Round 13: Chain 1, hdc in same stitch as join, hdc in the next stitch, * hdc decrease over the next two stitches, hdc in the next 2 stitches, * repeat from * to * around, ending with hdc in last three stitches; join with a slip stitch in top of hdc. (33 sts)
Round 14: Chain 1, hdc in same stitch as join, hdc in the next stitch, * hdc decrease over the next two stitches, hdc in the next 2 stitches, * repeat from * to * around, ending with hdc in last stitch; join with a slip stitch in top of hdc. (25 sts)
Fasten off and weave in ends.

BEANIE INSTRUCTIONS
(7 ½ inches wide by 6 ½ inches high)
Work rounds 1 through 14 DO NOT FASTEN OFF
Round 15: Chain 1, sc in same stitch as join and in each stitch around; join with a slip stitch in top of first stitch. (25 sts) FASTEN OFF
Cut 5 to 6-inch tail. Use your blunt needle to weave in every other stitch at the top making sure to go all the way around. Pull tightly to close the hole. Fasten off and weave in ends.

Don’t forget to share your projects in my Facebook Group and/or on Instagram!
>>> SIGN UP FOR THE AMERICAN CROCHET NEWSLETTER! <<<
Happy Hookin!
XO, Mistie

Copyright © Mistie Bush. All Rights Reserved. For personal use only. This pattern may not be copied, reproduced or distributed without express written permission from the designer and www.americancrochet.com You may not sell this pattern or profit from it in any way. You may sell items made from this pattern. However, you must link back to my American Crochet site to credit me for the pattern. You may not use my photos to sell your finished product. I have made every effort to ensure that this pattern is correct. If you have any questions or problems, you may email me at: [email protected]. Once your item is complete, share your work by posting a picture on my Facebook Group and/or Instagram!