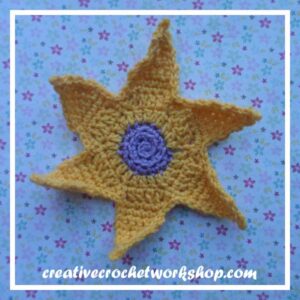
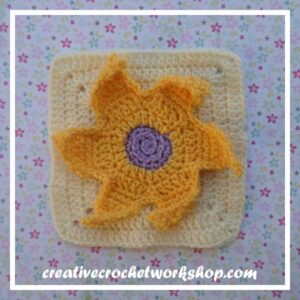
A glowing flower with special healing magic. The fifth in a compilation of The Fairy Granny Square Series designed around a Fairy Tale theme.
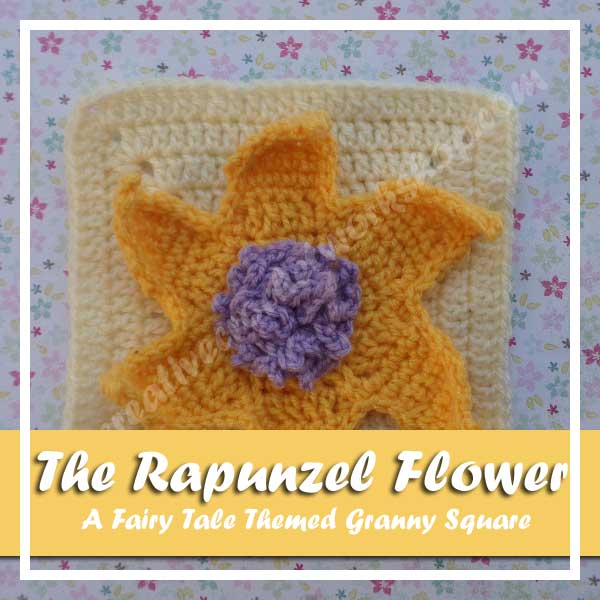
The Rapunzel Flower
Skill Level:
Easy
Materials:
- Double knitting/light worsted yarn (No 3)
- Approx 25 grams of yellow and cream
- Small amounts of double knitting/light worsted yarn in purple
- Hooks 4, 00 mm
- Yarn Needle
- Stitch Marker
Abbreviations:
SC – single crochet
DC – double crochet
SPECIAL STITCH – Picot: CH 3, SL ST into first CH
Gauge: Tension/Gauge is not necessary for this project to be perfect – crocheting the same tension throughout will ensure squares are approx the same size.
Finished Size:
Approx 14 cm x 14 cm
INSTRUCTIONS:
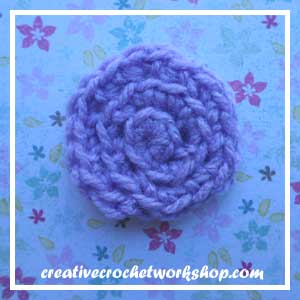
With purple yarn make a magic ring:
RND 1: Work 6 SC into ring, use a stitch marker to help keep count of your rounds;
RND 2: Working into the BACK LOOPS only –
work 2 SC into each SC of previous round (12 SC);
RND 3: Working into the BACK LOOPS only – * Work 2 SC into next SC, work 1 SC into next SC. Repeat from * all around (18 SC).
Fasten off and weave in ends.
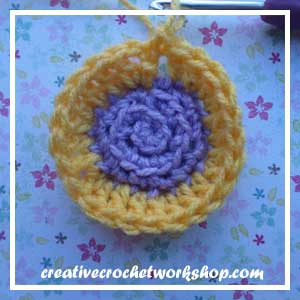
RND 4: Join yellow yarn into any FRON LOOP of round 3;
CH 3 (counts as 1 DC), work 1 DC into same loop;
work 1 DC into next 2 loops;
* Work 2 DC into next loop; work 1 DC into next 2 loops. Repeat from * all around (24 DC)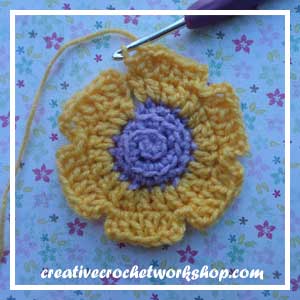
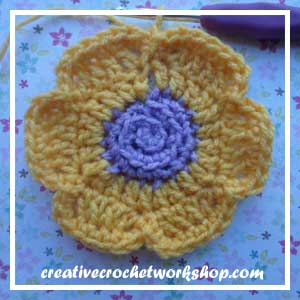
RND 5: SL ST into top of 3 CH;
*CH 3, work 1 DC into same ST; work 1 DC into next 2 DC, work 1 DC into next DC, CH 3, SL ST into same ST as last DC, SL ST into next DC.
Repeat from * 5 more times (6 petals)
RND 6: *SL ST into the space between next 3 CH and DC; work 2 SC over 3 CH;
work 1 SC into next 4 DC; work 2 SC over next 3 CH.
Repeat from * 5 more times.
Fasten off and weave in ends.
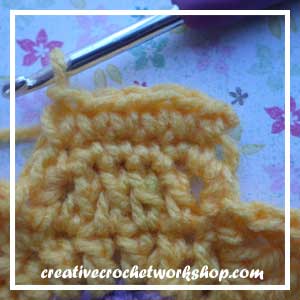
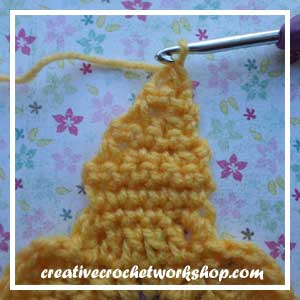
CREATING THE PETAL:
ROW 1: Rejoin yellow yarn into 2nd SC at the start of a petal;
work 1 SC into same SC, work 1 SC into next 5 SC (6 SC); TURN
ROW 2: CH 1, work 1 SC into each SC (6 SC), TURN
ROW 3: CH 1, SC2tog, work 1 SC into next 2 SC, SC2tog; TURN
ROW 4: CH 1 work 1 SC into each SC (4 SC), TURN
ROW 5: CH 1, SC2tog x 2; TURN
ROW 6: CH 1, work 1 SC into each SC (2 SC), TURN
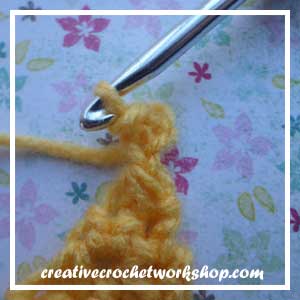
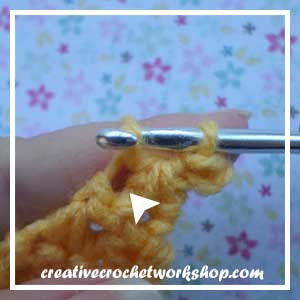
ROW 7: SC2tog – make a picot – SL ST into ST below SC2tog.
Fasten off and weave in ends.
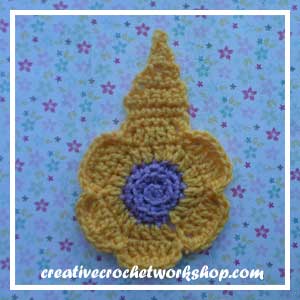
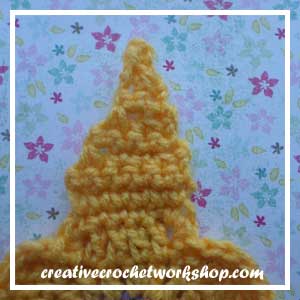
Repeat instructions for remaining 5 petals.
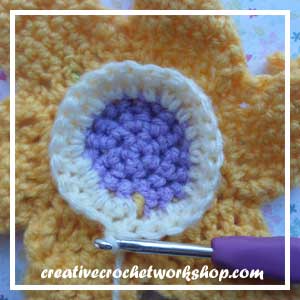
TURN Flower around so that the back is facing towards you; flip petals down so that the purple circle is facing right way up;
rejoin cream yarn into any exposed purple loop;
RND 1: CH 3 (counts as 1 DC), work 1 DC into same ST; work 1 DC into next 2 loops;
*Work 2 DC into next loops; work 1 DC into next 2 loops. Repeat from * until end (24 DC);
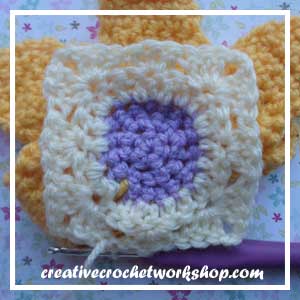
RND 2: CH 3 (counts as 1 DC); work [2 DC, 2 CH, 3 DC] into same ST;
*SKIP 2 DC; work 3 DC into next ST; SKIP 2 DC; work [3 DC, 2 CH, 3 DC] into next DC.
Repeat from * 2 more times. SL ST into top of 3rd CH of 3 CH
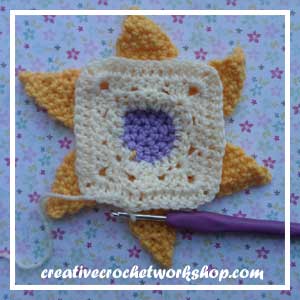
RND 3-6: CH3 (counts as 1 DC), work 1 DC into each ST all around and work 2 DC, 2 CH, 2 DC into each corner 2 CH.
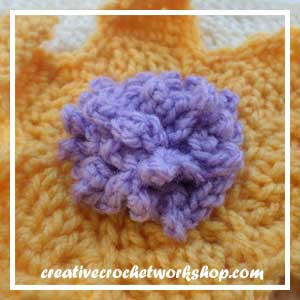
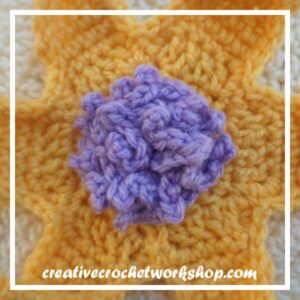
THE FLOWER CENTER:
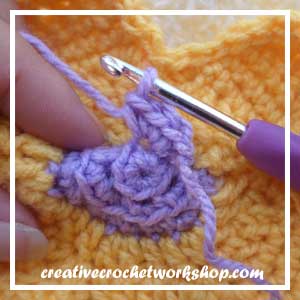
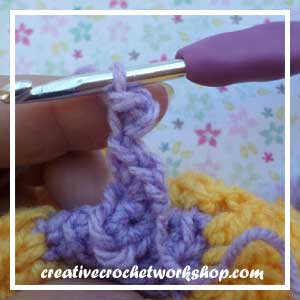
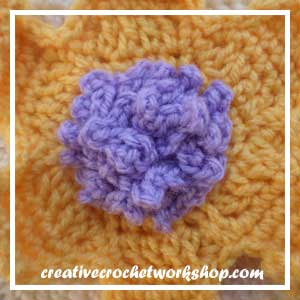
Join purple yarn into the first exposed loop right in the center of the purple circle;
*Work 4 SC into loop; make a picot. Repeat from * until last loop; SL ST into same loop.
Fasten off and weave in ends.
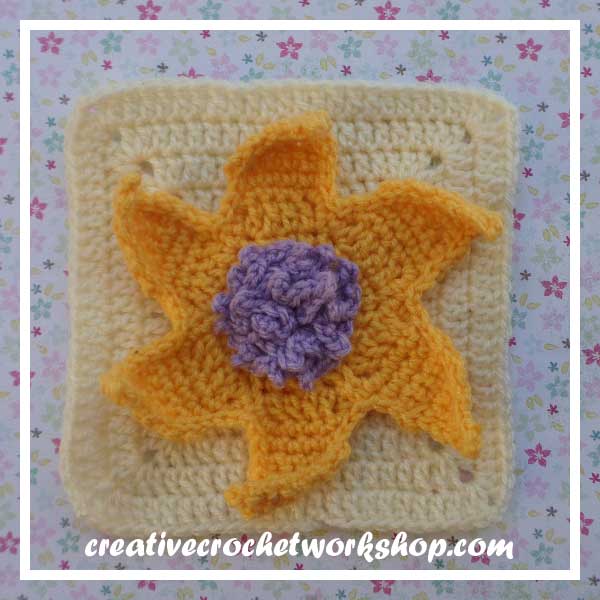
The Rapunzel Flower
Be sure to tag us on Instagram at @americancrochet & @ creativecrochetworkshop share your progress with us!
You can find and follow Joanita on these social media platforms: