Today we are going to be Crafting Holiday Cards. I love this time year. The hustle and bustle of shopping for gifts and wrapping them, spending hours in the kitchen baking yummy goodies, and spending time with my family. I love making gift tags, cards to mail, pass out or to decorate goody bags, to give to family, friends, neighbors and other special people in our lives.

By Mistie Bush
November 21, 2018
#craftingholidaycards
I would love to see your projects in my Facebook Group and/or on Instagram!
Crafting Holiday Cards
In this post you will learn a lot more about me and another one of my favorite crafts. I don’t get to play with my scrap-booking lovelies as much as I used to but when given the opportunity I will scrapbook and make cards, tags, invitations and more for hours on end. I was thrilled when Katelyn asked me to be part of the Holiday Card blog post on Marly Bird’s site. You may be wondering why well for me it was one more way for me to let you see a different side of me that you didn’t know about.
Today I will be showing you a cool way to make your holiday cards with yarn. Are you excited? I know I am! It’s like being a little kid in the toy store. Shall we get started? Great! Lets get our supplies ready.
REQUIREMENTS
Yarn
I used Red Hear Shimmer #4 100%, Snow; small amount. You may use whatever you like. Just keep in mind it may not look exactly like mine
Hook and Notions
Hook: H/8 (5 mm), scissors, stitch markers, and blunt needle
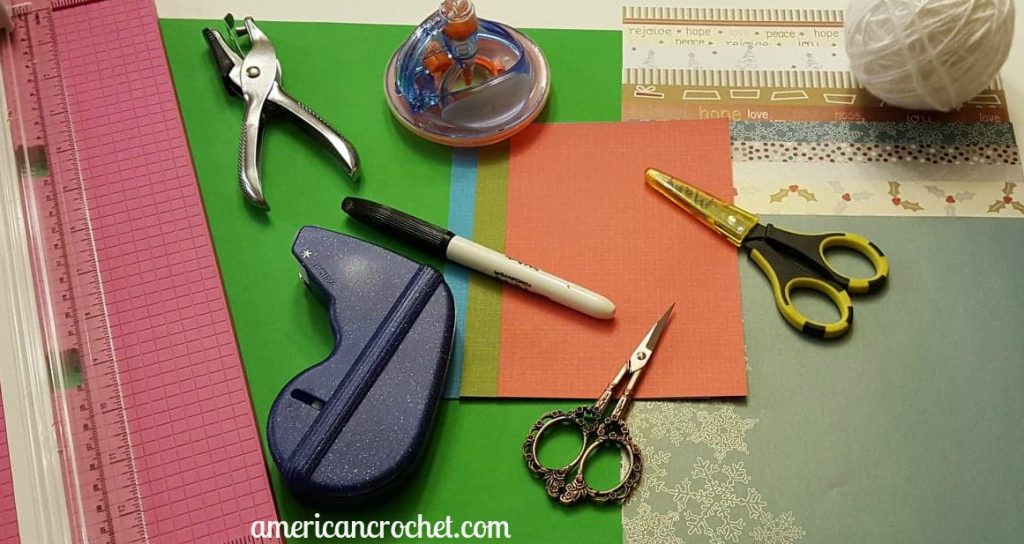
Craft Supplies (again this is what I used)
Hole punch, paper cutter, scissors to cut paper, tab dispenser (glue or tape), marker, card stock, circle cutter
Notes
You do NOT have to go out and by special items to make these cards. Feel free to use what you already have at home.

Crafting Holiday Card ~ Crafting With Mistie
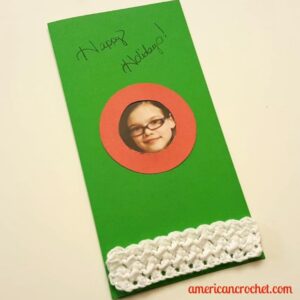
Step One: Fold your card stock in half. (mine is a 12×12 card stock)
Step Two: Make a picture frame by cutting a 3 inch circle out of another piece of card stock.
Step Three: Cut a 2 1/2 inch circle out of the 3 inch circle.
Step Four: Glue the frame (3 inch circle) to the front of the card, leaving an opening to slide a picture in.
Step Five: Personalize the card to your liking.
Crafting Holiday Cards ~ Crochet With Mistie
I chained 21 (to fit the length of the bottom of my card)
Row One: hdc in the 2nd chain from the hook, *slip stitch in the next stitch, hdc in the next stitch,* repeat from *to* across. Turn (20 sts)
Row Two: Chain 1 (Does Not Count), hdc in same stitch, *slip stitch in next stitch, hdc in the next stitch,* repeat from *to* across. Turn (20 sts)
Repeat Rows One and Two until your piece is as tall as you want it. Fasten off and weave in ends.
Step Nine: Attach your crochet edging at the bottom of your card or wherever you would like it.

Crafting Holiday Cards ~ Crafting With Mistie
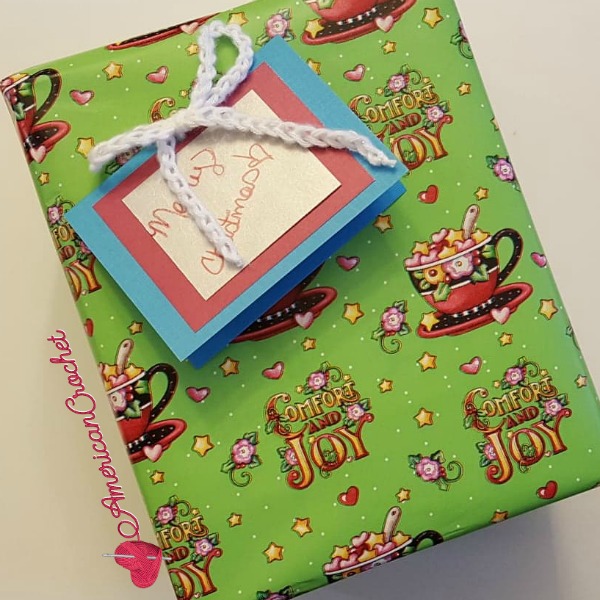
Step One: I took a smaller piece of card stock and folded it in half
Step Two: I took a coordinating color of card stock and cut it smaller than the card. Used a few tabs or you can use glue to make it stick in the middle of the card.
Step Three: I cut a smaller piece of decorative paper and used a few tabs or you can glue it down.
Step Four: Personalize the card to your liking.
Step Five: I punched two holes (close together) at the top of the card
Step Six: Here I just made a chain the length that I wanted. Ran the chain through both holes then tied it into a bow. Then I attached mine to a gift. Sometimes I will make several of these cute little cards, put them in envelopes and send out to family and friends.
Enjoy!
XO, Mistie
