Little Red Riding Hood ~ Contributor Post
Little Red Riding Hood, is part of The Fairy Tale Granny Square Series.
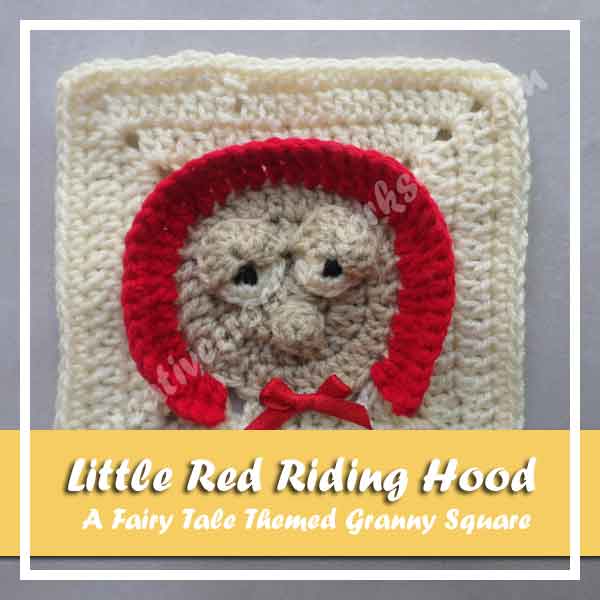
Find Little Red Riding Hood On Ravelry!
Share The Love And Please Favorite!
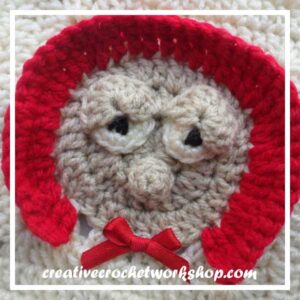
The ninth in a compilation of granny squares designed around a Fairy Tale theme.
Little Red Riding Hood
Skill Level:
Easy
Materials:
- Double knitting/light worsted yarn (No 3)
- Approx 25 grams of cream
- Small amounts of double knitting/light worsted yarn in red and beige
- Small amounts of double knitting/light worsted yarn in white/cream and black
- Small red bow
- Hooks 4, 00 mm & 3, 50 mm
- Yarn Needle
Abbreviations:
SC – single crochet
HDC – half double crochet
DC – double crochet
Gauge: Tension/Gauge is not necessary for this project to be perfect – crocheting the same tension throughout will ensure squares are approx the same size.
Finished Size:
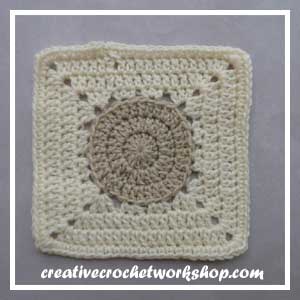
Approx 14 cm x 14 cm
Instructions:
Face:
With beige yarn and 4, 00 mm hook
Make a magic circle
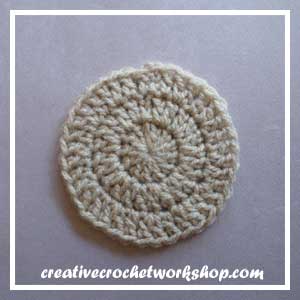
RND 1: CH 3 (counts as 1 DC); work 11 DC into ring; SL ST into top of 3rd CH of 3 CH.
RND 2: CH 3 (counts as 1 DC); work 1 DC into same ST. Work 2 DC into each ST all around ( 24 DC); SL ST into top of 3rd CH of 3 CH.
RND 3: CH 3 (counts as 1 DC: work 1 DC into same ST; work 1 DC into next ST.
* Work 2 DC into next ST; work 1 DC into next ST. Repeat from * all around (36 DC); SL ST into top of 3rd CH of 3 CH.
Fasten off and weave in ends.
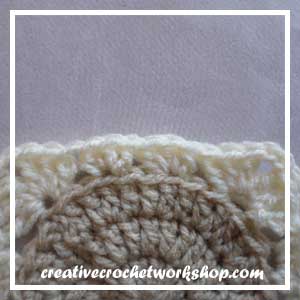
Join cream yarn into any back loop of round 3
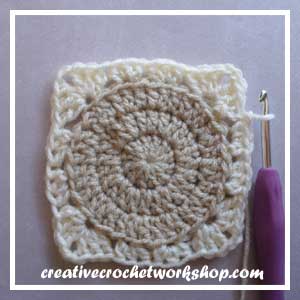
Rnd 4: CH3 (counts as 1 DC), work 1 DC, 2 CH, 2 DC into ST (first corner made), * SKIP 2 STS, work 3 HDC into next ST. Repeat from * 1 more times.
Work 3 DC, 2 CH, 3 DC into next ST (second corner made),* SKIP 2 STS, work 3 HDC into next ST. Repeat from * 1 more times.
Work 3 DC, 2 CH, 3 DC into next ST (third corner made),* SKIP 2 STS, work 3 HDC into next ST. Repeat from * 1 more times.
Work 3 DC, 2 CH, 3 DC into next ST (fourth corner made),* SKIP 2 STS, work 3 HDC into next ST. Repeat from * 1 more times. SL ST into top of 3rd CH of 3CH
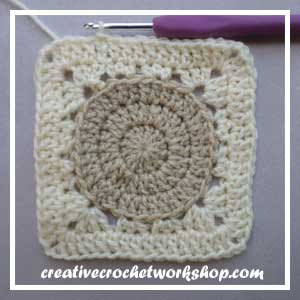
Rnd 5-7: CH3 (counts as 1 DC), work 1 DC into each ST all around and work 2 DC, 2 CH, 2 DC into each corner 2 CH.
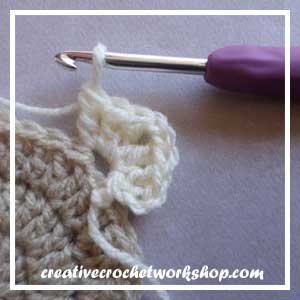
Red Hood:
With red yarn and 3, 50 mm hook
Join yarn into any face loop just after a corner – see photo
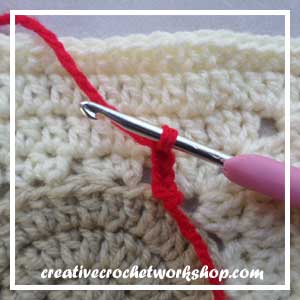
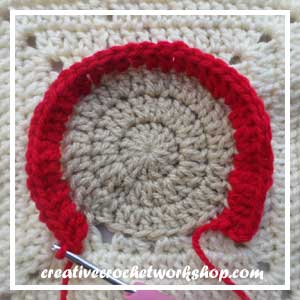
ROW 1: CH 3 (counts as 1 DC); work 1 DC into same loop;
work 2 DC into next 6 loops;
work 1 DC into next 14 loops;
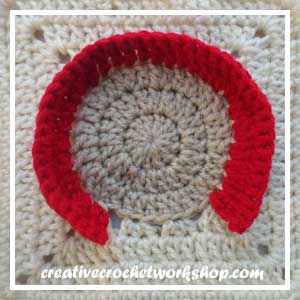
work 2 DC into next 7 loops; TURN
ROW 2: CH 1; work 1 SC into each DC.
Fasten off and weave in ends.
Eyes: (Make 2)
With white/cream yarn and 3, 50 mm hook
Make a magic ring
RND 1: Work 6 SC into ring;
RND 2: Work 2 SC into each ST all around (12 SC).
Fasten off and leave a tail for sewing.
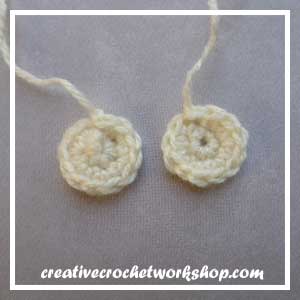
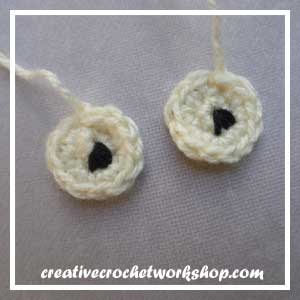
Embroider with some black yarn pupils onto each eye
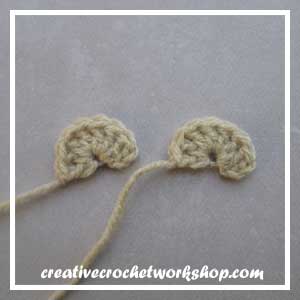
Eyelids: (Make 2)
With beige yarn and 3, 50 mm hook
Make a magic ring
CH 3; work 7 DC into ring.
Fasten off and leave a tail for sewing.
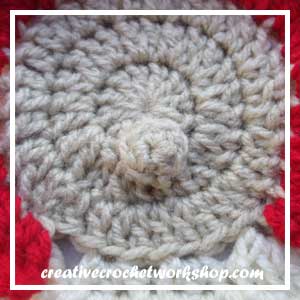
Nose:
With beige yarn and 3, 50 mm hook
Make a magic ring
CH 2; work 6 HDC into ring; SL ST into top of 2 CH.
Fasten off and leave a tail for sewing

CREATING THE FACE:
Sew nose and eyes into position; sew eyelids over the eyes.
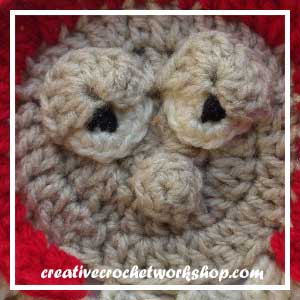
Sew on a little red bow just beneath the bottom of the face.
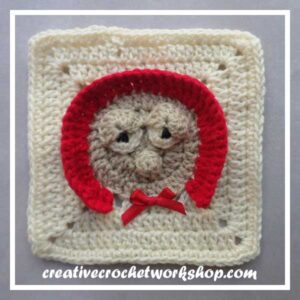
We hope you had fun crocheting up Little Red Riding Hood!
Be sure to stop by October 12th for the next Fairy Tale Square from Joanita’s Fairy Tale Series, exclusively at American Crochet!
Happy Hookin!