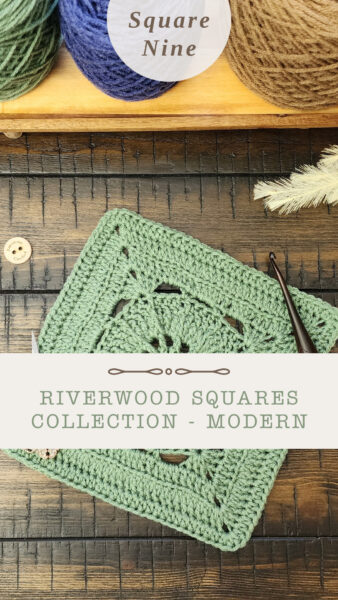
Hi Everyone! Welcome to the Oyster Square, the ninth block in the Riverwood Square CAL 2025 – Modern Version! This square continues the tradition of blending basic stitches with texture-building techniques, including back loop only, back post, and front post stitches. Designed with both structure and subtle elegance in mind, the Oyster Square is a versatile addition to your collection, making it perfect for your crochet-along journey.
Get the Oyster Square Crochet Pattern
You can grab the pattern from my online shops below: perfect for blankets, cushions, or other crochet projects!
- 🛒 Grab from the American Crochet Shop
- 🛒 Shop on ETSY
Whether you’re following along with the Riverwood Square CAL or using this square as an individual design, the combination of raised post stitches and delicate texture makes it both visually appealing and fun to crochet. Let’s grab our hooks and bring this square to life!
Sign up to receive exclusive pattern releases, step-by-step instructions, and helpful tips to guide you through this fun and engaging crochet-along! Click here to join!

I would love to see your projects in my Facebook Group and/or on Instagram!
Your creations inspire and motivate our vibrant crochet community!
The Oyster Square is all about creating dimension with simple yet effective stitch variations. By working in the back loop only, the design gains a subtle ribbed effect, while the front and back post stitches add structural elements that bring depth to the pattern. This square is perfect for crocheters looking to practice post-stitch techniques while maintaining an elegant, balanced design.
Join the Crochet Along Community:
As you continue building your Riverwood Square CAL, each block introduces new textures and techniques to help expand your crochet skills. The Oyster Square offers a harmonious blend of structured edges and an inviting, tactile feel. Don’t forget to share your progress in our crochet community, and let’s celebrate each stitch together!
This is an afghan block that is quick and easy to crochet. The stitches are simple enough to learn that even a confident beginner could crochet a blanket with them. You will need to know how to single crochet, double, treble crochet, half-double crochet, and front post and back post stitches.
Disclaimer: This post contains affiliate links. When you purchase something through these links I earn a small commission. You do not pay any extra for the item you purchase.
Don’t miss out—start your Riverwood Square CAL journey with us today!
The Oyster Square ~ Crochet Along
REQUIREMENTS
- US Terminology
Level of Difficulty
- Beginner/Intermediate
Yarn
- #4 worsted weight
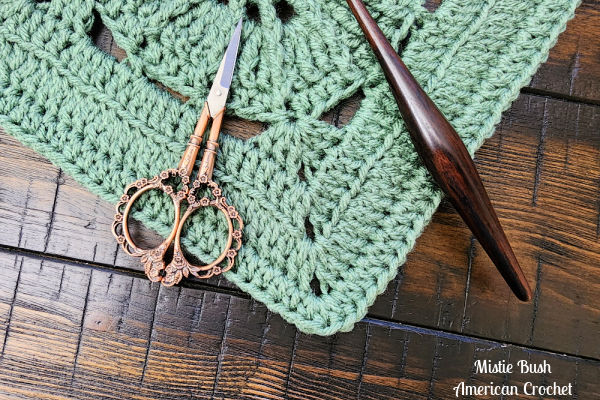
- These images display Red Heart Super Saver in Light Sage. 20 yards (roughly)
- Yarn brands I recommend for this project include Red Heart Super Saver, Red Heart with Love, Hobby Lobby’s “I Love this Yarn”, and Vanna’s Choice.
Hooks and Notions
- Size Hook: I/9 (5.5 mm)
- Scissors
- Stitch Markers (optional, for marking the beginning of rounds)
- Blunt Needle
Measurement
- 9 inches across (Approximately)
Gauge
- 17 dc = 4-inches (Round 7) (Using Red Heart Super Saver yarn)
Abbreviations
- Sl st = slip stitch
- Ch/chs = chain/chains
- Sc = single crochet
- Hdc = half double crochet
- Dc = double crochet
- Tr = treble crochet
- BPdc = back post back post double crochet
- FPdc = front post double crochet
Pattern Notes
- Ch 1 at beginning of round does not count unless otherwise stated.
- 1st Corner – work (3 dc, ch 2, 3 dc)
- 2nd Corner – work (2 dc, ch 2, 2 dc)
Tips for Crocheting the Oyster Square
- Stitch Tension: Be mindful of your tension to keep your square the right size. Adjust your hook if needed.
- Blocking: Once you’ve finished your square, block it to ensure it stays in perfect shape, especially for the larger project you’ll be working toward!
Customizing Your Oyster Square
This Oyster Square is perfect for customizing! You can experiment with color changes, to give it your own unique touch.
Oyster Square Instructions
Make a Magic Ring
Round 1: Ch 1, *[dc, chain 1] 12 times; join with a sl st into 1st dc. (12 dc, 12 ch-1 sps)
Round 2: Ch 1, *FPdc around ROUND 1 dc, ch 2,* repeat from *to* around; join with a sl st in 1st FPdc. (12 FPdc, 12 ch 2 sps)
Round 3: Sl st into ch-2 sp, ch 1, *work 3 tr in ch 2 sp, sk next FPdc, ch 1,* repeat from *to* around; join with a sl st in 1st tr. (36 sts, 12 ch-1 sps)
Round 4: Ch 1, FPdc around same st, FPdc around the next 2 sts, *FPtr around FPdc of ROUND 2, FPdc around next 3 sts,* repeat from *to* around; join with a sl st in 1st FPdc. (48 sts)
Round 5: Ch 1, hdc in same st and in the next 2 sts, *FPdc around the FPtr, hdc in next 3 sts,* repeat from *to* around; join with a sl st in 1st hdc. (48 sts)
Round 6: Ch 1, work (3 dc, ch 2, 3 dc) into same st as join, (FIRST CORNER), *[ch 3, sk 3 sts, sc in next st] 2 times, ch 3, sk 3 sts, (FIRST CORNER) in next st*, repeat from *to* around 2 more times; join with sl st into 1st dc. (4 corners, 8 sc, 12 ch-3 sp)
Round 7: Ch 1, dc in next 3 dc, (SECOND CORNER), *dc into next 3 dc, work 4 dc into next ch 3 sp, dc in next sc, work 5 dc into the next ch 3 sp, dc in the next sc, work 4 dc into next ch 3 sp, dc into next 3 dc, work (SECOND CORNER),* repeat from *to* 2 more times; join with a sl st into 1st dc. (100 dc, 4 ch-2 sps)
Round 8: Ch 1, dc in same dc, BLO dc in next 4 dc, *(SECOND CORNER), BLO dc in each dc across,* repeat from *to* 3 more times; join with a sl st in 1st dc. (116 dc, 4 ch-2 sps)
Round 9: Ch 1, hdc in same st, hdc in next 6 sts, *work 3 hdc in ch-2 sp, hdc in each st across,* repeat from *to* around; join with a sl st in top of 1st hdc. (128 hdc) Fasten off and weave in ends.
Looking Ahead
Congratulations on completing the Oyster Square – the ninth square in our Crochet Along! Stay tuned for next week’s pattern, where we’ll be adding even more exciting designs to your crochet project. The fun has just begun, and we’re thrilled to crochet along with you every step of the way.
Get the Oyster Square Crochet Pattern
You can grab the pattern from my online shops below: perfect for blankets, cushions, or other crochet projects!
- 🛒 Grab from the American Crochet Shop
- 🛒 Shop on ETSY
Happy Hookin!
XO, Mistie


