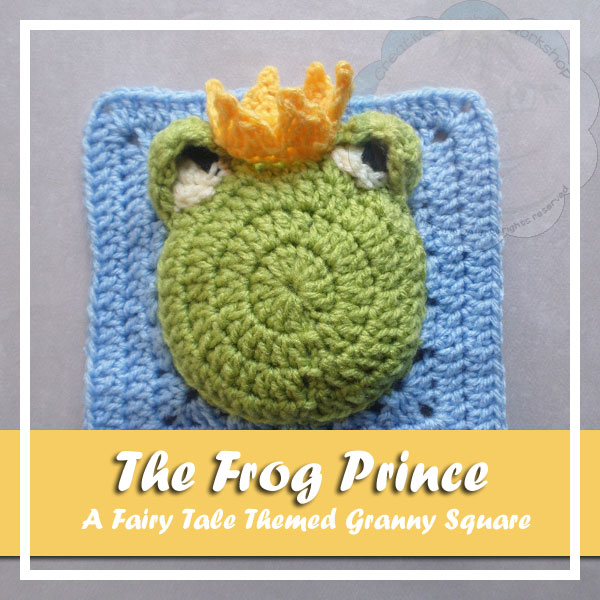
The Frog Prince square is the 1st afghan block in the Fairy Tale Themed granny square series. It features a few basic stitches that creates this raised square. This fairy tail themed square gives detailed instructions so you can make your own granny square.
I would love to see your projects in my Facebook Group and/or on Instagram!
>>PIN IT FOR LATER!<<
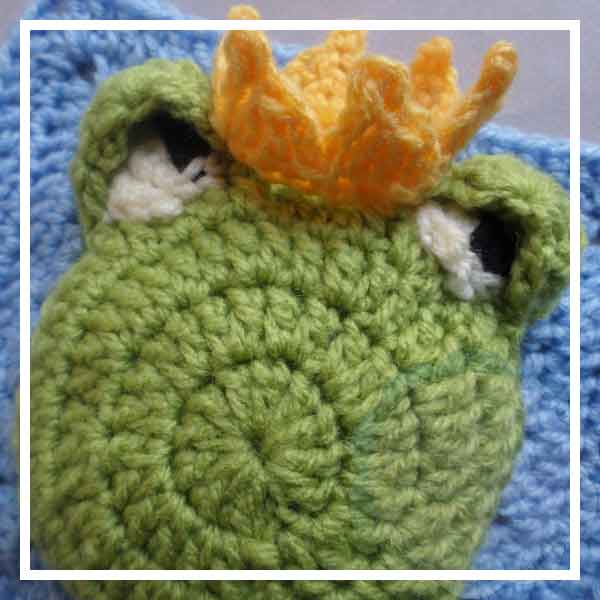
Today’s Guest Post, is brought to you by Joanita @ Creative Crochet Workshop, exclusively for American Crochet. Just a little background on The Frog Prince – the handsome prince turned into a frog and awaiting a true love’s kiss to break the spell…. This square is the first afghan block in a compilation of granny squares designed around a Fairy Tale theme. Together these squares create a story blanket or pillow!
Be sure to yell if you need help along the way. Joanita and I are here to help.
You can find more of my crochet squares over HERE
This square can also be used for other projects and will always be available to follow on my site. Enjoy!
The Frog Prince
REQUIREMENTS
Level of Difficulty
- Beginner/Intermediate
Yarn
- Double knitting/light worsted yarn (No 3) Approx 25 grams in blue and green
- Small amounts of double knitting/light worsted yarn in pastel yellow
- Small amounts of double knitting/light worsted yarn in black and white/cream
- Fiberfill/Toy stuffing
Hook and Notions
- Size Hooks: 4, 00 mm & 3, 50 mm, stitch markers and blunt needle
Gauge
- is not necessary for this project to be perfect – crocheting the same tension throughout will ensure squares are approx. the same size.
Measurement
- 14 cm x 14 cm
Abbreviations
- SC – single crochet
- HDC – half double crochet
- DC – double crochet
Special Stitches
- Picot: CH 3, SL ST into first CH
The Frog Prince Instructions
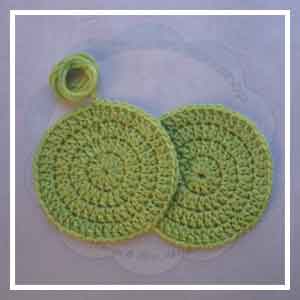
Circles: Make 2
Using green yarn and 4, 00 mm hook make a magic circle,
Round 1: Ch 3 into circle (counts as 1 dc), work 11 dc into circle, sl st into top of 3rd chain of ch 3. (12 dc)
Round 2: Ch 3 (counts as 1 dc), work 1 dc into same st, work 2 dc into next st, *work 2 dc into each st, repeat from * until end of round, sl st into top of 3rd ch of ch 3. (24 dc)
Round 3: Ch 3 (counts as 1 dc), work 1 dc into same st, work 1 dc into next st, *work 2 dc into next st, work 1 dc into next st, repeat from * until end of round, sl st into top of 3rd ch of ch 3. (36 dc)
Round 4: Ch 3 (counts as 1 dc), work 1 dc into same st, work 1 dc into next 2 sts, *work 2 dc into next st, work 1 dc into next 2 sts, repeat from * until end of round, sl st into top of 3rd ch of ch 3. (48 dc)
Fasten off and leave a tail for sewing on one of the circles.
On only one circle continue as follows
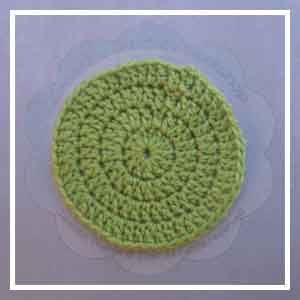
Join blue yarn into any back loop of round 4,
Round 5: Ch 3 (counts as 1 dc), dc 2 into st, ch 2, 3 dc (first corner made), *skip 2 sts, work 3 hdc into next st, repeat from * 2 more times.
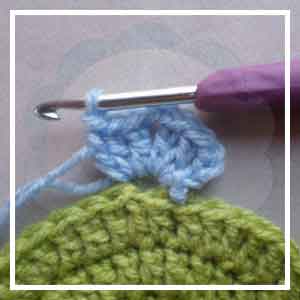
Work 3 dc, ch 2, 3 dc into next st (second corner made), *skip 2 sts, work 3 hdc into next st, repeat from * 2 more times.
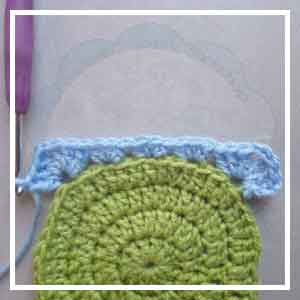
Work 3 dc, ch 2, 3 dc into next sts (third corner made), *skip 2 sts, work 3 hdc into next st, repeat from * 2 more times.
Work 3 dc, ch 2, 3 DCdc into next st (fourth corner made), *skip 2 sts, work 3 hdc into next st, repeat from * 2 more times, sl st into top of 3rd ch of ch 3.
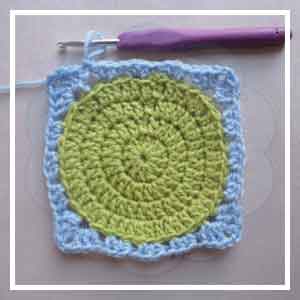
Rounds 6-7: Ch 3 (counts as 1 dc), work 1 dc into each st around and work 2 dc, ch 2, 2 dc into each corner ch 2.
Note
- For eyes, eyelids and crown use the 3, 50 mm hook
- Don’t forget to share your progress on Facebook and Instagram @creativecrochetworkshop
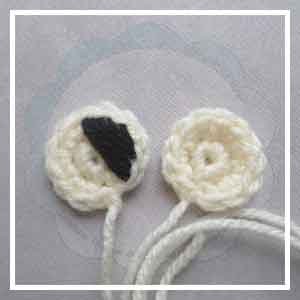
Eyes: Make 2
with white yarn make a magic ring
Round 1: Work 6 sc into ring
Round 2: Work 2 SC into each SC
Fasten off and leave a tail for sewing.
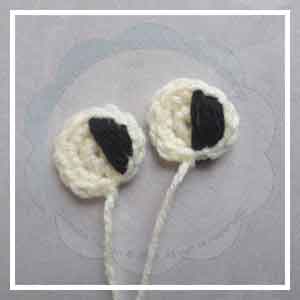
Embroider some pupils onto the white circles – optional glue on some eyes!
Eyelids: Make 2
with green yarn make a magic circle
Row 1: Ch 3 (counts as 1 dc), work 7 dc into ring
Row 2: Ch 3 (counts as 1 dc), work 1 dc into the same st, work 1 dc into next 6 sts, work 2 dc into the last st (the 3rd ch of the ch 3)
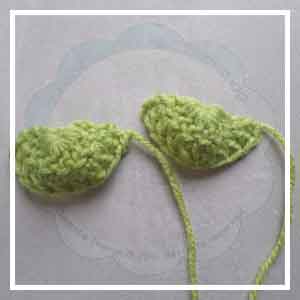
Fasten off and leave a tail for sewing.
The Crown:
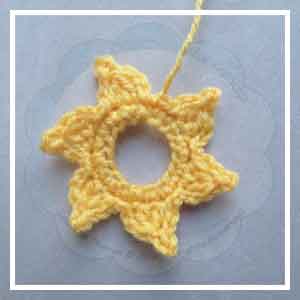
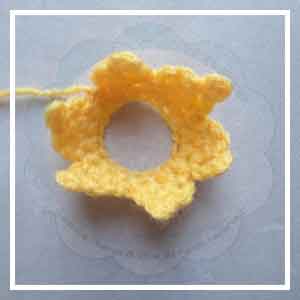
with yellow yarn Ch 18 and sl st into first ch to form a ring
Round 1: Ch 1, work 1 sc into each ch (18 sc)
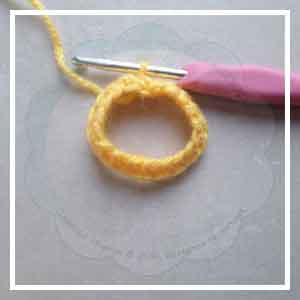
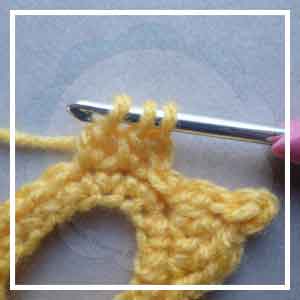
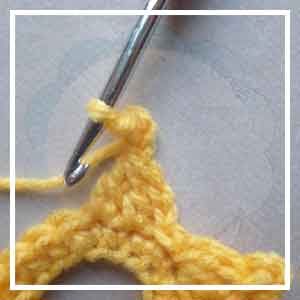
Round 2: Ch 3, work 2 DCtog, Picot, ch 3, sl st into same st as last dc.
*sl st into next st, ch 3, work 2 DCtog, Picot, ch 3, sl st into same st as last dc, repeat from * 4 more times.
Fasten off and leave a tail for sewing.
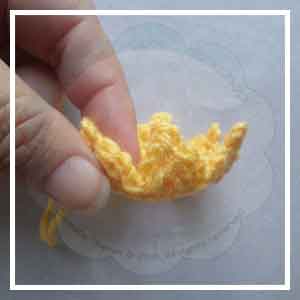
ASSEMBLING THE FROG PRINCE SQUARE
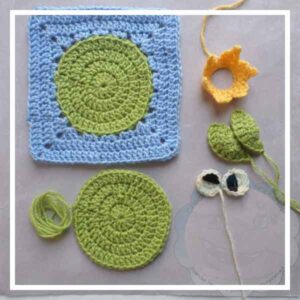
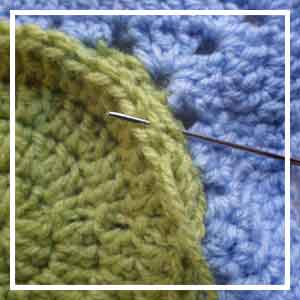
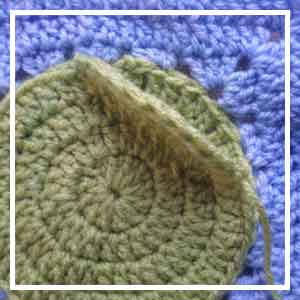
Sew the second circle on top of the granny square circle – see photo
Before closing, stuff with some fiberfill and close up
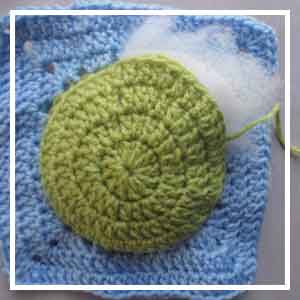
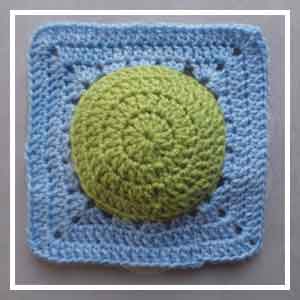
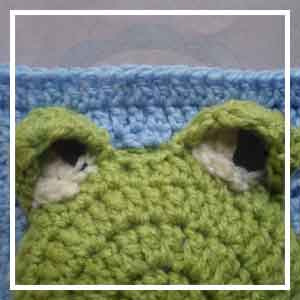
Sew on eyes – use photos as guide
Note: the eyes are half over the green square and the other half over the blue
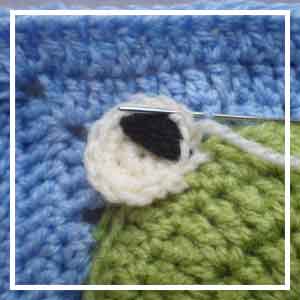
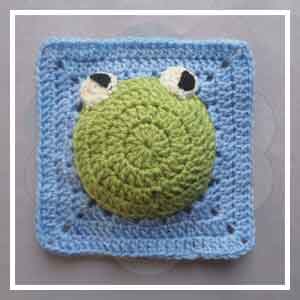
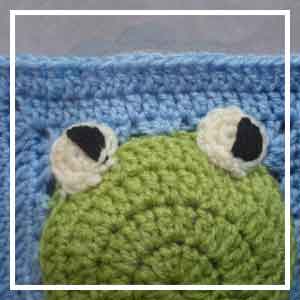
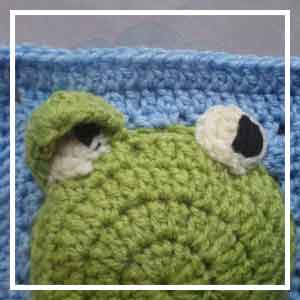
Sew eyelids over the eyes – use photos as guide
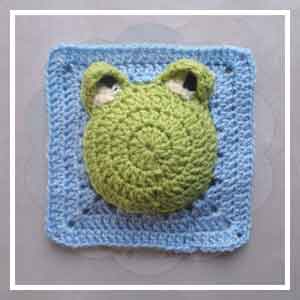

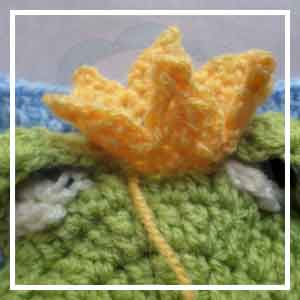
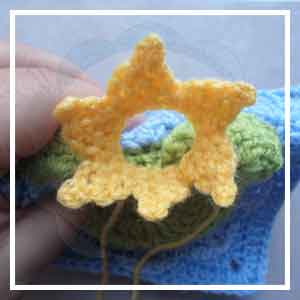
The crown is sewn on in a circular motion in between the eyes – the first part onto the green and the back onto the blue
For the complete Fairy Tail Themed Granny Squares go HERE!

Don’t forget to share your projects in my Facebook Group and/or on Instagram!
>>> SIGN UP FOR THE AMERICAN CROCHET NEWSLETTER! <<<
Happy Hookin!
XO, Mistie

Hello, I’m having trouble with row two of the crown. How do you work 2dctog ? How do you do a picot? I’m stuck!
Joyce
Hi Joyce 🙂
2dctog – this is simply working 2 double crochet stitches together to form one stitch.
Look at the photo above the instructions.
Picot – You make a 3 CH, then slip stitch into the 3rd CH form the hook (in other words the first CH you made)
i hope this helps 🙂